CAD Models
(2026 notice) This page describes an old project, and it may be incomplete.
These are not ready-to-print files.
You will need to tweak those files to fit the shape of your foot.
Materials
Materials:
- TPU 95A (Personally, I've used "SUNLU Flexible Filament TPU 1.75mm, 95A").
- Non-textured (smooth) print bed.
- Electrical tape.
- One of the parts will need a separately-printed support in order to print clean bridges.
Files
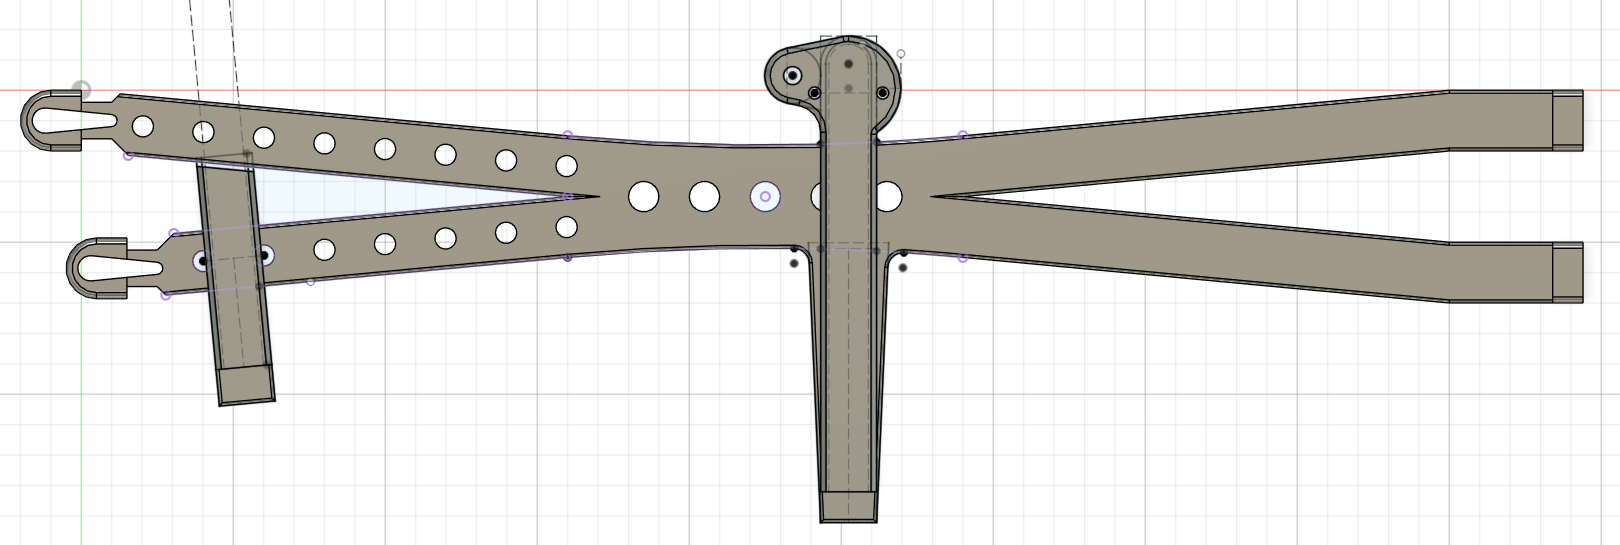
tt-belt.step
This is the belt for the right foot.
This print is meant to fit exactly my foot.
This part has an embedded protection for the 5th toe splay sensor.
During assembly, the toe splay sensor must be oriented with the striped side facing against the skin.

tt-belt-button.step
This button needs to be printed twice, and it serves to prevent the belt holder from retracting.

tt-big-toe-inserter.step
This is a pathway for the flex sensor of the Big toe to slide through.
In my personal prototype, the flex sensor of the toe is bare, with the exception of the root, because I estimate that specific sensor is sufficiently protected.

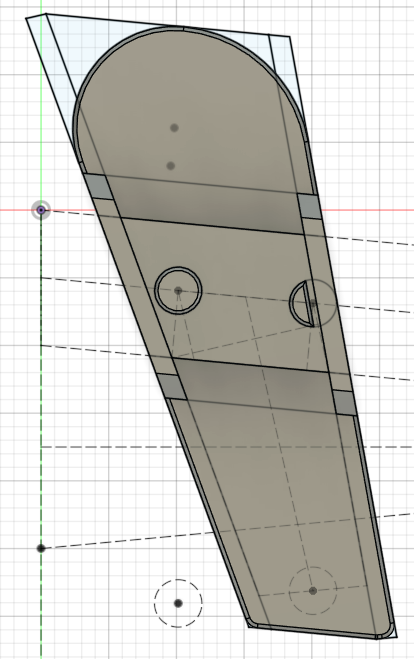
tt-2nd-phalange-inserter.step
This is a pathway for the flex sensor of the 2nd toe to slide through.
In order to use this, we need to print with some really clean bridges, because the flex sensor that slides under it will have a friction contact with the bottom of that bridge.
To print the clean bridges, I recommend printing a PLA or PETG bridge support (file not provided).
(It involves pausing the TPU print before the bridge layer is printed, in order for you to insert the PLA bridge support)

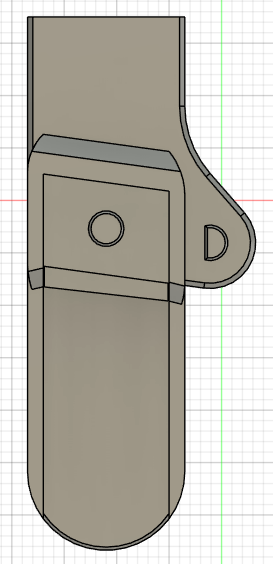
tt-2nd-phalange-sensor-hook.step
This is the flex sensor for the 2nd toe.
It has a hook part, which attaches to the 2nd distal ring.
Once the print is complete, the face that is printed on the print bed will be facing up, because we want the smooth bottom face to slide against the underside bridging of the pathway for the 2nd toe.
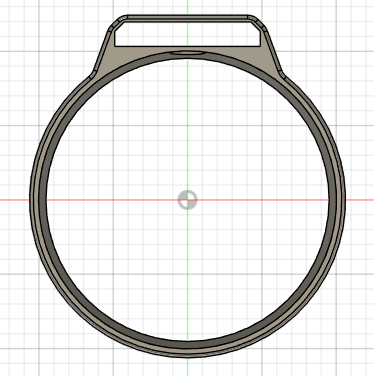
tt-2nd-distal-ring.step
This is the ring that attaches to the 2nd toe distal.
This ring is sized to fit my toe.
Attach to your toe with the triangle pointing side facing away from you.
During assembly, make sure you attach that ring onto the hook the before you secure the flex sensor with electrical tape.
You need socks with individual toes, or redesign this part. This ring will just slide off your toe if you don't use socks, due to the way the bare skin moves when curling.
